As you know Microsoft in the last few years have made it easier than ever for developers to run Linux on top of Windows 10. With WSL you can find out how to enable and even install LAMP Stack here.
NVM is useful for the developer as it allows you to run both the LTS and latest node but be able to switch from either or depending on the project.
Let’s get started. We will be using Ubuntu 18.04 for this install guide you should be able to google if you have a different OS installed?
Step 1. Installing NVM (Can also be used for upgrading NVM)
Run this command as your current user.
curl -o- https://raw.githubusercontent.com/creationix/nvm/v0.33.11/install.sh | bash
This will download the install script and run it with bash. If you use another shell, you should be able to replace it. Wait for it complete as it may take a moment to install and download. It should have already added some lines to your .bashrc but if it does not then you can add this to your shell RC File.
export NVM_DIR="${XDG_CONFIG_HOME/:-$HOME/.}nvm" [ -s "$NVM_DIR/nvm.sh" ] && \. "$NVM_DIR/nvm.sh" # This loads nvmStep 2. Installing NodeJS with the newly installed NVM
To install NodeJS now you run the command “nvm install version” (The version does support us as a version) For this we will install version 10.13.0
Wait for it to download and install. You may want to not have to sudo to install a package globally right? If you want to do that you can’t do the old prefix via the npmrc file as nvm does not support it. But what you can do is set it with this command.
Replace version_number_here with the version 10.13.0 or whatever version you want to install.
npm config set prefix $NVM_DIR/versions/node/v${version_number_here}After this is done every time you do npm install -g package it will be installed in your home folder.
As of right now, you can’t do any npm or node as you must tell nvm you want to use a version.
Step 3. Using nvm
To tell nvm you want to use node version 10.13.0 you use the command nvm use nvm use 10.13.0 and or nvm use 10 either one work. After you run them, you should be able to do npm and node as seen below.
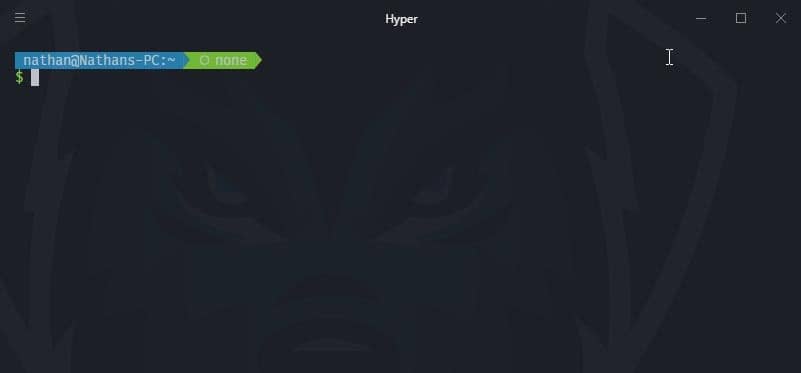
Before NVM install and use
After NVM has been used
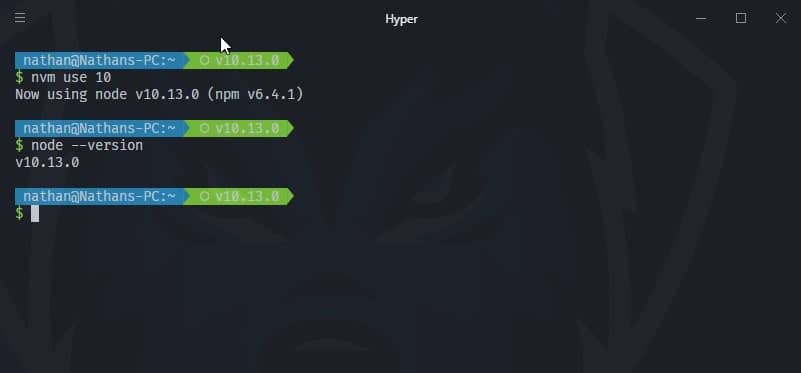
As you can see, I can now use NodeJS. Now let’s say you want to switch to the newest version. That’s simple. Just do nvm install 11.2.0.
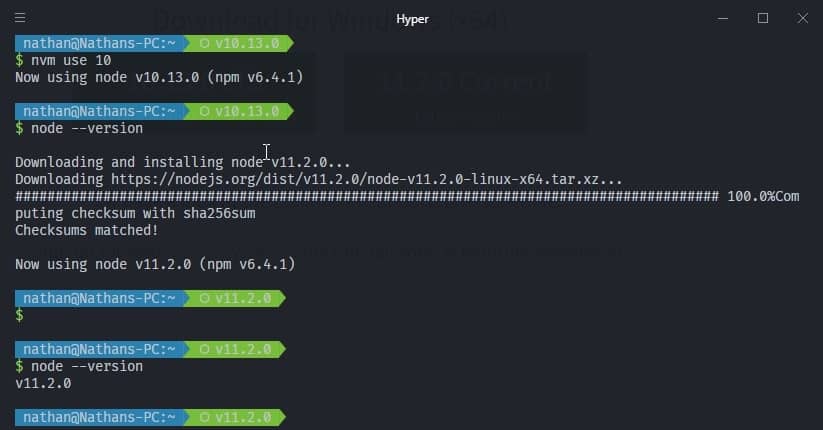
Now you can switch different NodeJS versions with easy-to-use commands. This great if you also just want to test the new features if the newest version has any. Without having to fully commit to the latest version. This also means upgrading is easier as you can just install the new LTS version and then delete the old one.
This is highly recommended for developers as you can test your code on different NodeJS versions and make your code work with newer versions if needed.
Don’t forget to subscribe to get the latest blog posts into your mailbox.